


SYSTEM DESIGN HELP
Where To Begin
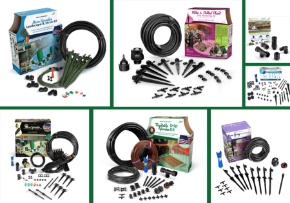
Designing a micro spray or drip irrigation system can feel overwhelming if you have had little experience or you have a lot of landscape and garden area to cover. Fortunately, we completely understand and we are here to help. We offer personalized system design help that custom tailors each project to the exact needs of the customer. Print the available PDF, follow the set of simple drawing instructions, then complete the form in step two and click submit. That’s it! Take the time to complete these few things, and we will send you a full shopping list along with a drawing, showing where to connect your system, where to run your system, and where to place drippers and micro sprays. And, of course, you can always call or email with any additional questions you might have.
If you need help designing a system for a commercial application, please contact your local irrigation wholesaler or email us at sales@misterlandscaper.com
If you need help designing a system for a commercial application, please contact your local irrigation wholesaler or email us at sales@misterlandscaper.com
The Drawing
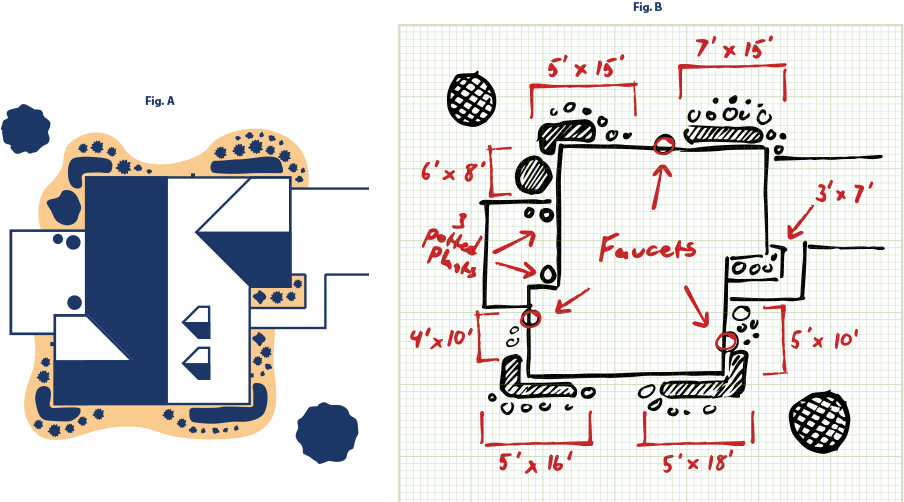
Don’t worry! No need to panic. We are NOT looking for a professional rendering of your property. In fact, we are really good at interpreting even the most elementary of drawings. That said, the more detail and information you can give, the more accurate we can be with our recommendations. Just as an example, if your house and landscaping looks something like this (Fig. A), your drawing might look something like this (Fig. B)
Below are just a few of the most important things to make note of and include in the drawing. Be as accurate as possible. And give as much detail as possible. But remember, it does NOT need to be perfect. Use the graph paper (download below) to help make your drawing more accurate. This download also includes a checklist of tools and information to include in the drawing.

Measuring
This is the important part. Try to be as accurate as possible when giving dimensions. If you own a tape measure, this is an ideal tool. But, you don’t need to run out and buy one if you don’t have one. Walk it off, using each step to approximate a foot. If you have small feet, add a few inches between each step (Fig. C). You will also need to indicate on your drawing the value of each square (Fig. D).

Faucets
Another key piece of information to include is the location of your outdoor water faucets. Indicate on the drawing the locations of usable spigots.
Plants
As much as possible, accurately indicate plant variations by breaking them into three categories: 1) Small Plants and Flowers, 2) Shrubs and Bushes, and 3) Trees. Indicate each, using the following guide (Fig. E).

Household Water Pressure and Flow Test
While this bit of information does not have to be included on the drawing (There is a place to input PSI and/or flow rate in step two), it will likely be easiest to collect this data while you are already outside. Knowing household water pressure helps us determine the need for pressure regulators as well as the number of drippers or micro sprays that can be run from a single faucet. You can purchase a pressure gauge at your local hardware store, or you can do a quick test that will provide some very basic water flow information. To perform the water flow test, first, turn on your outdoor faucet until fully open (It’s best to NOT use a garden hose for this test). Next, take a 1 gallon container and place it under your outdoor faucet. Finally, note the number of seconds it takes to fill the container. You will need this information in step two.
Continue to the Form
Once the drawing is complete, continue to step two to finish the process. At this point, it is a good idea to go ahead and scan your drawing so it can be uploaded on the next page.